Winter Sowing with Milk Cartons: A Simple Method for Cold-Hardy Flowers in Minnesota
If you grow flowers in Minnesota, you already know winter isn’t something we “work around” — it’s something we work with. For starting flowers in climates like USDA Zone 4B, winter sowing is one of the easiest and most affordable ways to start strong, hardy plants without grow lights, greenhouse heat, or complicated setups.
Why Winter Sowing Works in Zone 4B
According to the United States Department of Agriculture, Zone 4B winter temperatures can drop to -25°F to -20°F. That sounds intense — but many hardy annuals and perennials require that cold period (called cold stratification) to germinate properly.
Winter sowing:
Improves germination rates for hardy varieties
Produces stronger, more resilient seedlings
Eliminates the need for indoor grow space
Reduces transplant shock
Is budget-friendly and sustainable
For flower farms, it’s a smart way to get a head start on the season without increasing overhead.
What You’ll Need
Empty plastic gallon milk or water cartons
Sharp utility knife or scissors
Permanent marker
Potting mix (not garden soil)
Seeds of cold-hardy plants
Duct tape
A sunny outdoor location
Best Plants for Winter Sowing in Zone 4B
Look for seeds labeled:
Hardy annual
Perennial
Requires cold stratification
Direct sow in fall
Great winter sowing flower options:
Snapdragons
Larkspur
Delphinium
Rudbeckia
Coneflower
Bachelor’s Buttons
Yarrow
Poppies
Foxglove
Step-by-Step: How to Winter Sow Using Milk Cartons
Step 1: Prepare the Carton
Rinse the milk carton thoroughly.
Using a knife, cut around the middle of the carton horizontally — leave about 1–2 inches uncut near the handle to create a hinge.
Remove the cap completely (this allows ventilation and rain/snow in).
Poke 4–6 drainage holes in the bottom.
You’ve just created a mini greenhouse.
Step 2: Add Soil
Fill the bottom half with 3–4 inches of moist potting mix.
The soil should feel like a wrung-out sponge — damp but not dripping.
Avoid garden soil; it compacts too easily and doesn’t drain well.
Step 3: Sow Your Seeds
Sprinkle seeds according to packet depth instructions.
Tiny seeds: press into surface.
Larger seeds: cover lightly.
Label the container clearly with plant name and date.
Tip for flower farms: Add variety name if you grow multiple cultivars for bouquet production.
Step 4: Close and Secure
Close the top of the carton.
Secure with duct tape if needed (especially in windy areas).
Leave the cap off.
The open top allows moisture and natural temperature fluctuation.
Step 5: Set Outside — And Leave It
Place cartons:
In full sun
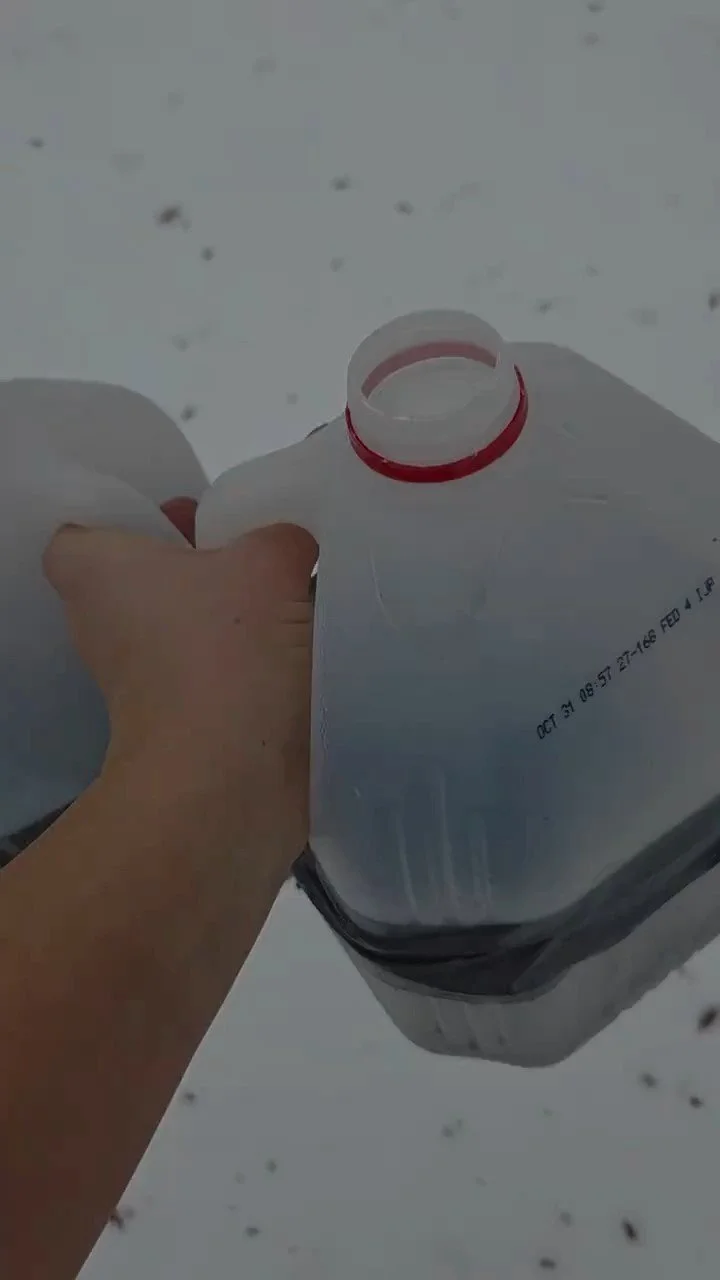
On soil, gravel, or snow
Where they won’t blow away
Now comes the hardest part: do nothing.
Snow and rain will water them naturally. Freezing and thawing cycles help break seed dormancy.
What Happens Next?
Winter (January–March)
Seeds remain dormant while being cold stratified.
Early Spring (April)
As temperatures rise consistently above freezing, seeds begin germinating.
You’ll notice condensation inside the cartons — that’s normal and good.
Mid to Late Spring
Once seedlings have several sets of true leaves:
Open the lid during the day for ventilation.
Remove the top entirely once nighttime temps stay above freezing.
Transplanting to the Field
When seedlings are:
2–4 inches tall
Hardened off naturally by outdoor conditions
They’re ready to transplant directly into your flower beds.
Winter-sown seedlings are often stockier, more wind-tolerant, and less prone to transplant shock than indoor-started plants.
Tips for Success in Cold Climates
Don’t start too early. January through early March is ideal in Zone 4B.
Avoid tender annuals (zinnias, cosmos, basil) — these need warmth.
Group cartons together to prevent tipping.
Check occasionally for excessive dryness during unusually warm winters.
Expect slightly later blooms than heated greenhouse starts — but stronger plants overall.
Why This Method Is Perfect for U-Pick Flower Farms
For small farms and homesteads, winter sowing:
✔ Reduces seed-starting costs
✔ Saves indoor growing space
✔ Produces hardy, field-ready plants
✔ Scales easily — 10 cartons or 200
It’s practical, sustainable, and aligned with working in rhythm with our northern climate.
If you grow flowers in Minnesota or another cold Zone 4 climate, winter sowing may become one of your favorite off-season rituals. There’s something hopeful about lining up milk cartons in the snow — knowing spring is already quietly underway inside each one.
