How to Build an Affordable Indoor Seed-Starting Setup
Starting seeds indoors doesn’t have to mean investing in expensive greenhouse systems or specialty grow lights. With a simple setup and the right lighting specifications, you can grow strong, healthy seedlings right in your home.
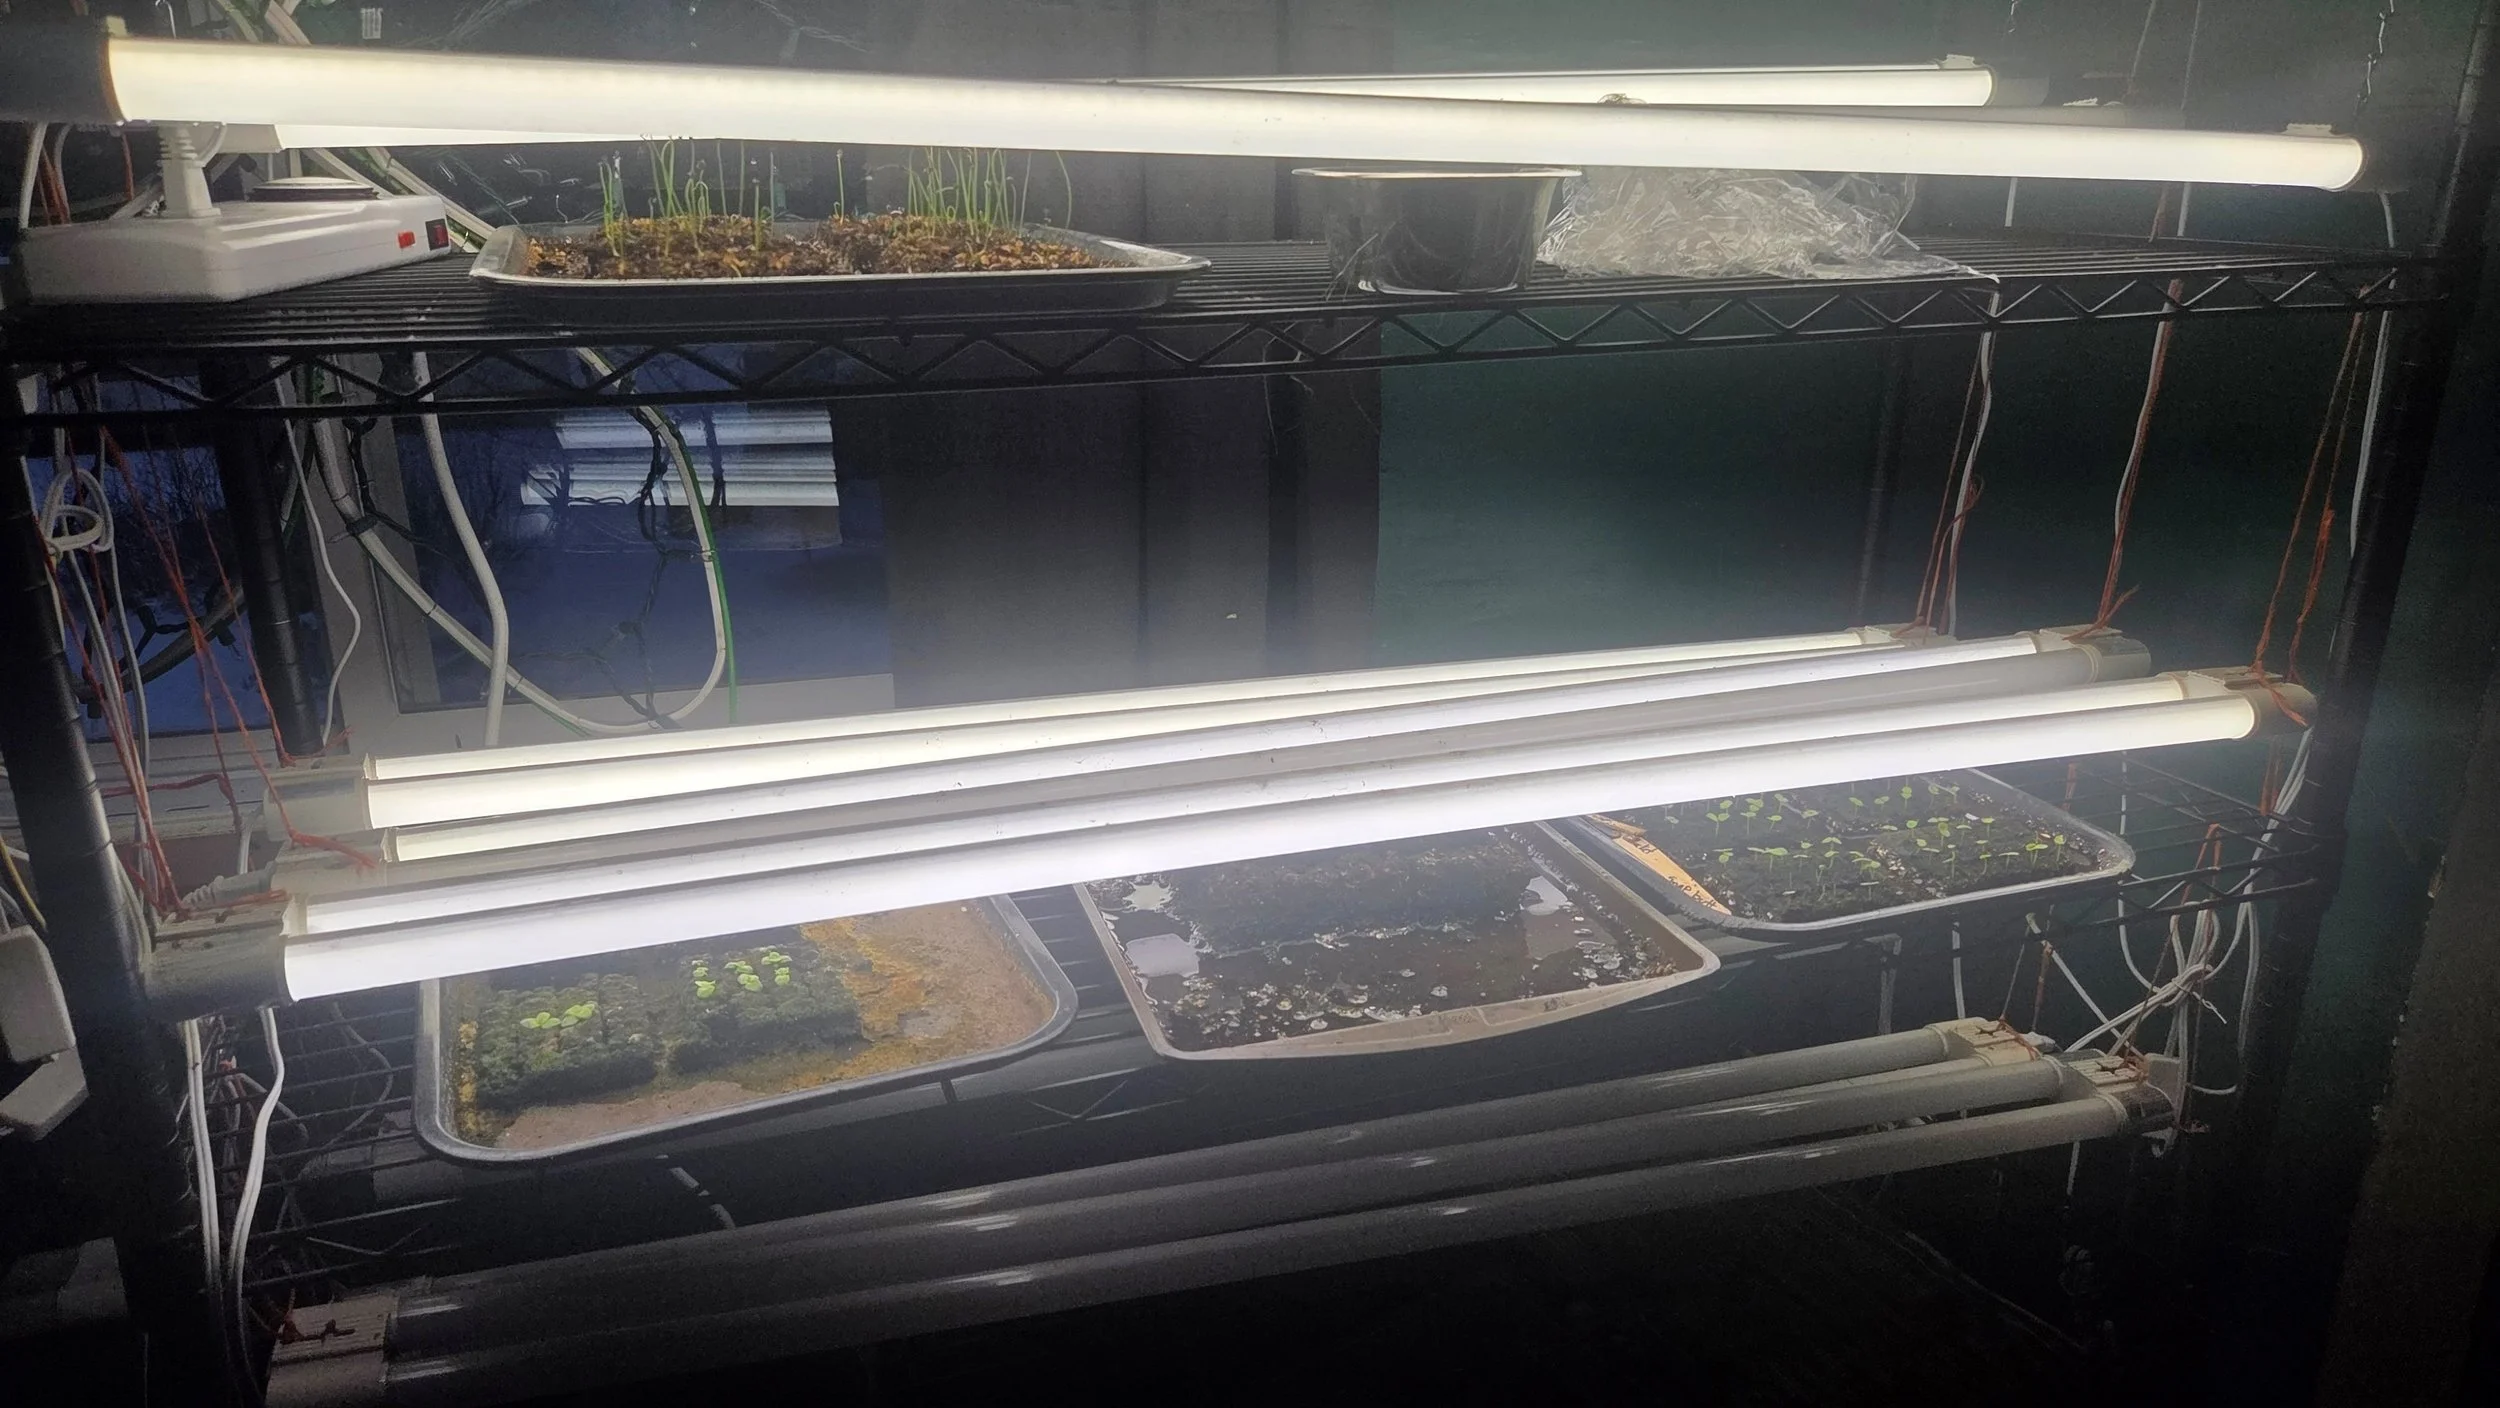
At Romestead Flower Farm, we use a practical, budget-friendly system that produces sturdy, transplant-ready plants every season — and you can build something similar without spending a fortune.
What You’ll Need
A sturdy surface or shelving unit
Seed trays, flats, or small pots
High-quality seed starting mix
Hanging lights
A timer
A way to raise and lower the lights
Lighting: What Actually Matters
The single most important factor in indoor seed starting is light intensity. Weak light causes seedlings to stretch (become “leggy”) and fall over.
You do not need specialty purple grow lights — but you do need lights that meet certain requirements.
Wattage Requirements
For seedlings, aim for:
At least 30–40 actual watts per 4-foot fixture
Or approximately 20–30 watts per square foot of growing space
When shopping online, make sure you’re looking at actual watt draw, not “equivalent wattage.”
Spectrum Requirements
Plants use a range of light wavelengths, primarily in the blue and red spectrum.
Look for lights labeled:
Full spectrum
Or “daylight” LEDs
Most modern LED shop lights already contain a balanced spectrum suitable for seedlings.
You do not need specialized red/blue-only grow lights for seed starting.
Color Temperature (Kelvin Rating)
Color temperature is extremely important.
For seedlings, choose lights in the range of:
5000K – 6500K
This is often labeled as:
Daylight
Cool white
Lower Kelvin ratings (2700K–3000K, warm white) are better for flowering stages — not early seedling growth.
The Lights We Use
At Romestead Flower Farm, we use these LED shop lights for our indoor seed starting setup:
They are bright, efficient, and provide the 5000K daylight spectrum our seedlings need — without the high cost of traditional grow lights.
Adjustable Light Height: Non-Negotiable
Your lights must be adjustable.
Keep lights:
2–4 inches above the tops of seedlings
Close enough to prevent stretching
Raised gradually as plants grow
We recommend using:
Chains with S-hooks
Adjustable tie-downs
Carabiners
Wire rack shelving with adjustable tiers
If lights are too high, seedlings stretch. If they’re too close and high-powered, they can scorch leaves. Adjustable height gives you control.
Use a Timer (Save Yourself the Headache)
Seedlings need:
12–16 hours of light per day
Plug your lights into an inexpensive outlet timer and set it once. This ensures consistent light exposure and prevents accidentally leaving lights on 24/7.
Consistency = healthier plants.
Shelving Options
We use wire rack shelving because:
It’s sturdy
It allows easy hanging of lights
Shelves adjust as plants grow
It maximizes vertical space
But truly — any setup works as long as:
You can securely hang lights overhead
Lights can be lowered and raised
There’s access to a power outlet
Basements, spare rooms, garages, even closets can work with the right setup.
Step-by-Step Setup
Set up shelving near an outlet.
Hang lights using adjustable chains or hooks.
Position lights 2–4 inches above trays.
Plug lights into a timer (12–16 hours daily).
Sow seeds and monitor growth.
Raise lights gradually as seedlings grow.
Final Thoughts
You don’t need an expensive greenhouse or professional grow room to start seeds successfully. What you do need is:
Bright light (30–40 watts per fixture minimum)
5000K–6500K color temperature
Full spectrum LEDs
Adjustable height
A timer
That simple combination will grow strong, stocky, transplant-ready plants — whether you’re growing vegetables, annuals, or cut flowers.
If we can start thousands of seedlings this way each season at Romestead Flower Farm, you absolutely can too.
Happy seed starting
